How to link your Xero account to your Onlive account

Mark
Last Update 4 jaar geleden
Looking to link your Onlive account with Xero to make your event finances easier? Here we will talk you through the steps to do so!
Note: The user that connects the integration has to have either Standard or Adviser level user permissions. The API essentially works on behalf of the user that authorised it to connect.
Step 1:
If you don't already have your Xero account set up, head over to Xero first and do this.
Next, set up your invoice payments via Xero. You can search Xero's support articles here to help you if needed!
Step 2:
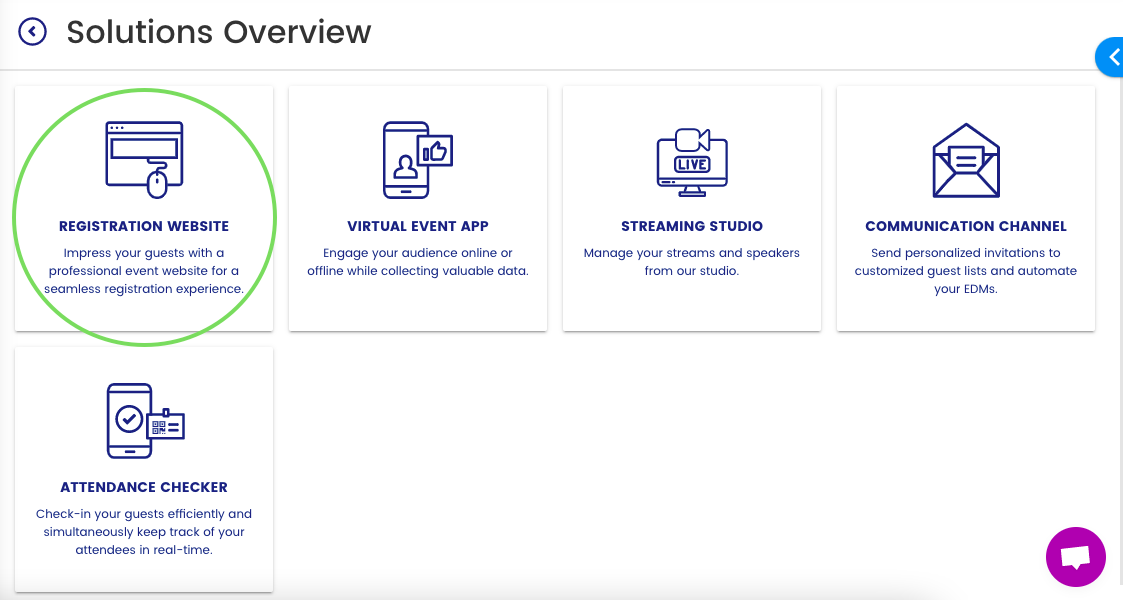
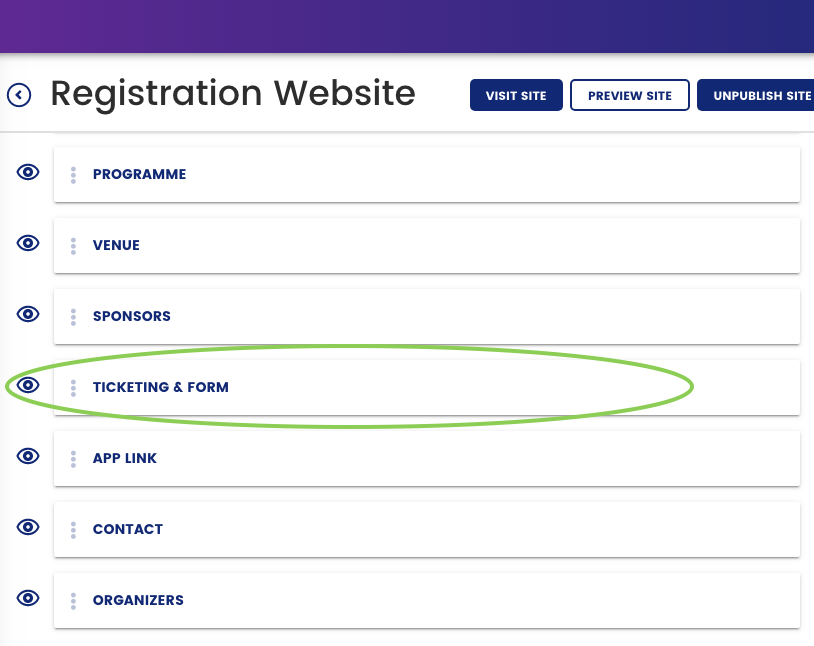
Now you are all set up on Xero it's time to integrate Xero with Onlive. In your event dashboard, navigate to the Registration Website module > Ticketing and Form then Manage Ticketing and Form Set Up (see screen shots below).
Haven't set up an event yet? Not to worry - follow this easy guide to get started and then pop back here once you've done it!
Registration Website:
Ticketing and Form:
Manage Ticketing & Form Set Up:

Step 3:
Within the "manage ticketing & forms" page you will see a tab for "Invoicing & Accounting Integrations". Click here and you should see the Xero thumbnail. Select this and you will be prompted to connect to Xero (select "Connect with Xero").
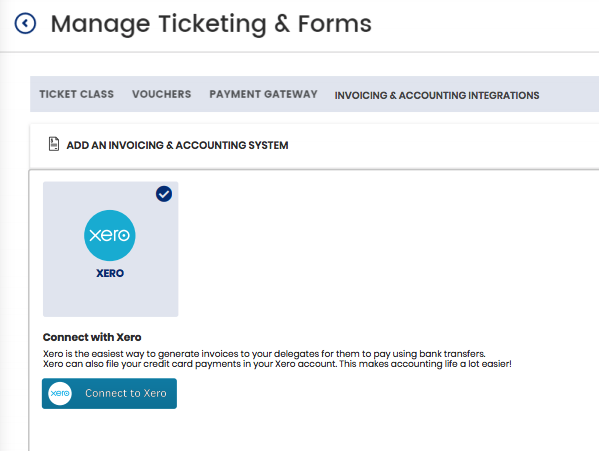
Once connected you will see invoice settings appear for you to set based on your requirements (as per the below). The drop down options will appear based on your account set up in Xero (see explanation of each option below):

Select Organization - if you have multiple organizations setup in Xero, here you can choose the organization you require to be noted on the invoice
Select Branding - if you have multiple invoice templates, you can choose the required one
Set invoice Account - here you can select which account the transaction should be filed under
Tax Rate (%)- if any tax should be included on the invoice you can set the rate (%) here
Also File credit card payments in Xero - toggle this to "on" if you want Stripe or Paypal payments to be filed in Xero too
Mark credit card payments as paid in Xero - toggle this "on" to automatically tag credit card payments as "paid".
Note: Invoices will automatically be marked as paid in Onlive revenue reports once marked as paid in Xero.
Once you have completed the above... you are DONE!
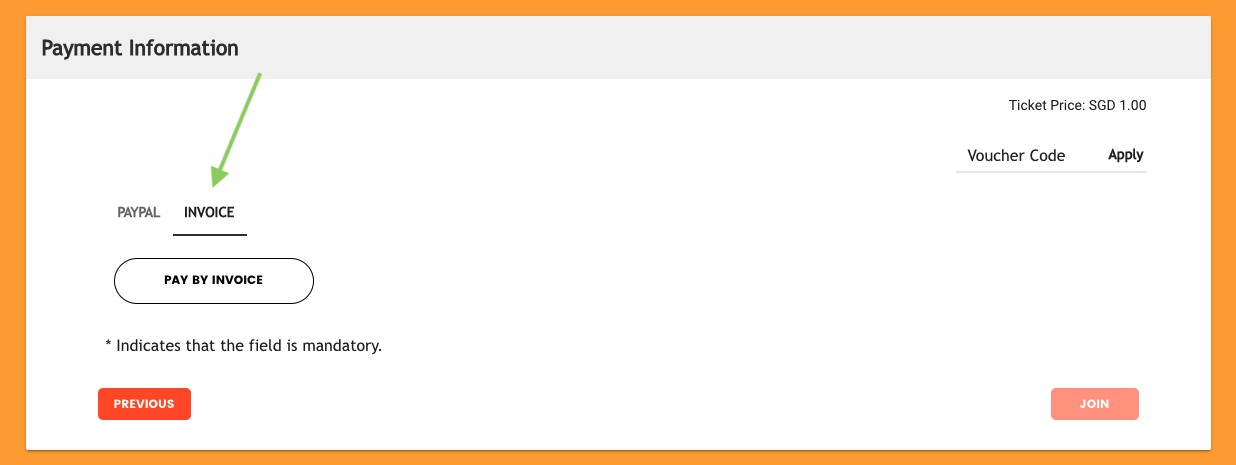
When guests sign up and select payment information, they will now see the "Invoice" option (below) which they can select and it will trigger your invoice via Xero. This can be chosen for both one off ticket or group tickets.
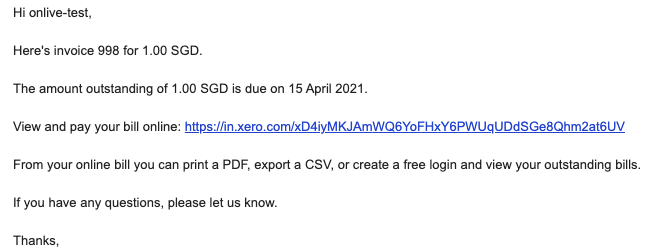
Once confirming their payment method, guests will be automatically sent an email with a link to their invoice (see screenshots below). They can pay their invoice Onlive with multiple payment methods by their due date (as noted on the invoice).
A sample email showing what your guests would receive after check out:
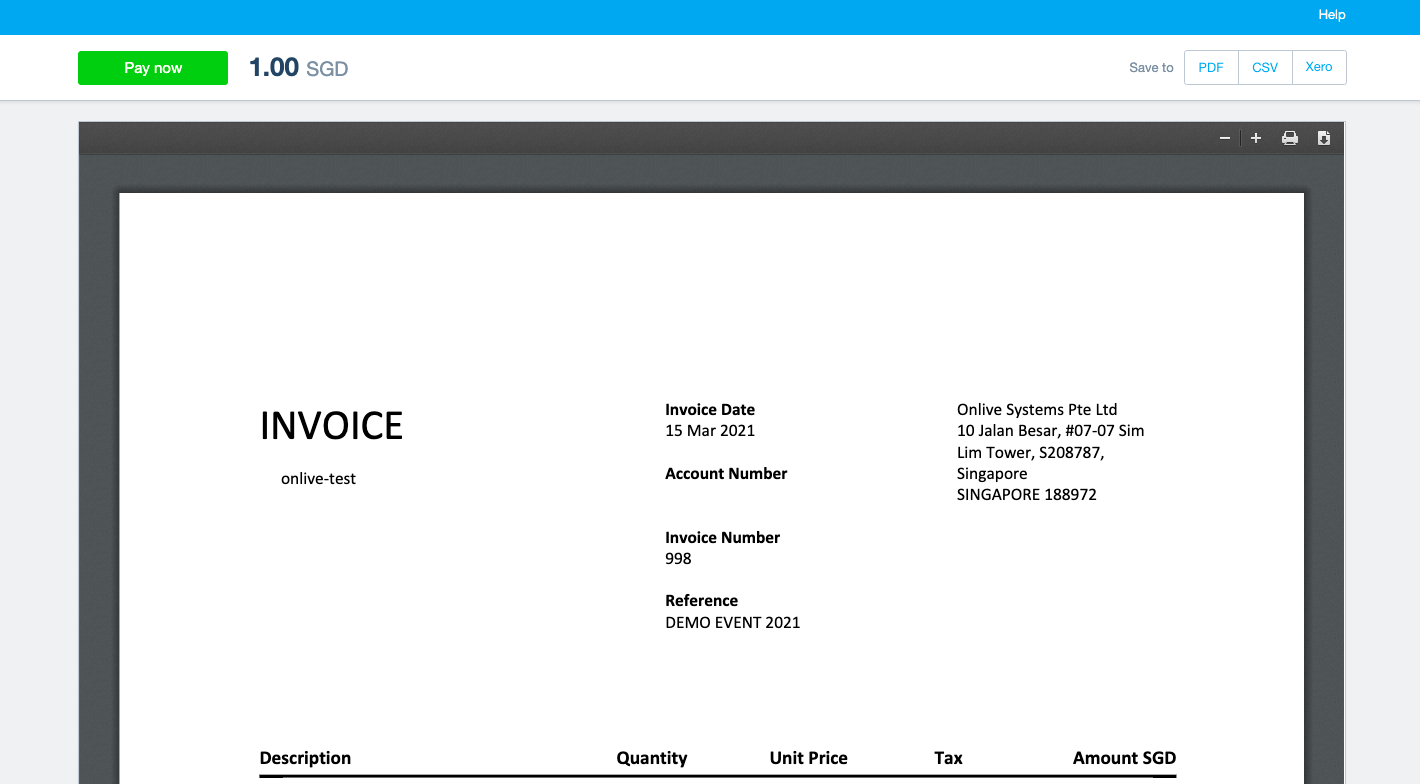
A sample invoice received by guests who can pay via the green "pay now" button:
Once the invoices are marked as "paid" in Xero, this will also pull through to your Onlive dashboard making it really easy for you to keep any eye on your payments.
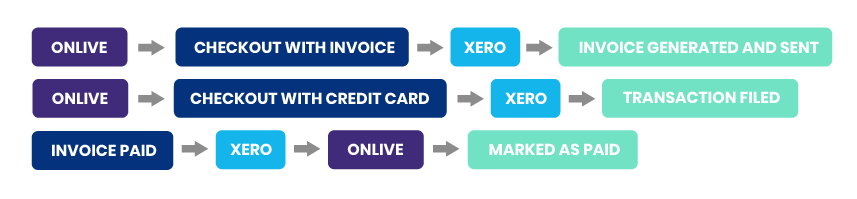
Xero and Onlive
An overview of what can be achieved:
More questions? See our Xero FAQs here.