Changing Website URL
Find out how to change your event registration website address and read more about the different options available to you.

Mark
Last Update pred 4 leti
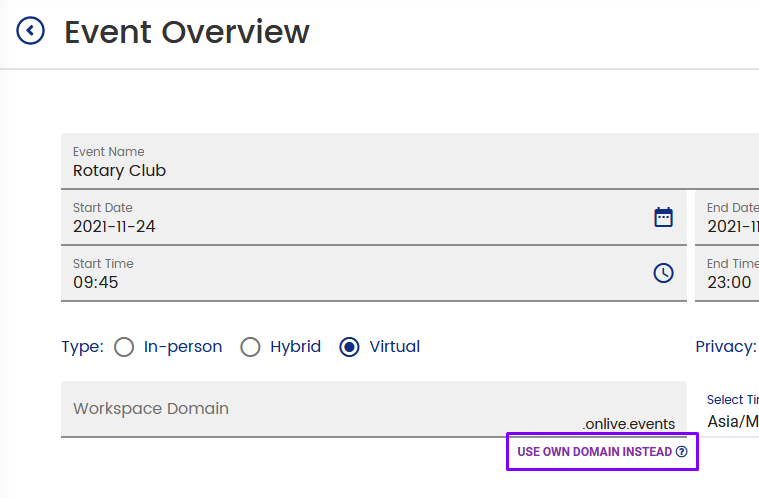
On the Onlive platform, there are several options that you can use for your website URL. To change your website URL for an existing event, select the event in question from Home. At the Solutions Overview page, select Registration Website. The first screen that you see here will have Website Settings at the top. Click on General > Web Address. Here, you will be able to update your website's URL and you'll have the following options:
- Onlive's Subdomain
- Your Own Custom Domain
- Your Own Custom Domain with Folders
Things to Note:
(1) HTTPS is automatically added to all domains for secure browsing 🔐
(2) If you have already published a site with a URL, you would have to "DELETE THIS DOMAIN" before you can add your new URL.
Onlive's Subdomain
This is the free and basic option that is available to everyone. For users on a Free account, this is the only option available. A subdomain essentially means that your website will be part of the hierarchy under our larger domain under onlive.events.
In Web Address settings, you'll be able to key in your own subdomain. When doing so, "onlive.events" will be automatically added. If your event was called "my event name" for example, you would simply time in "myeventname" and once published the URL would be myeventname.onlive.events
NOTE: you do not need to add ".com" etc at the end of your domain as "onlive.events" replaces this.
Your Own Custom Domain
We understand that for some event organisers, it's really important to have a steady brand presence right from the get-go. You can use your own custom domain by clicking on Details Overview under Details, choose Own Domain Instead, then select either Create a New Domain or Use Existing Domain.
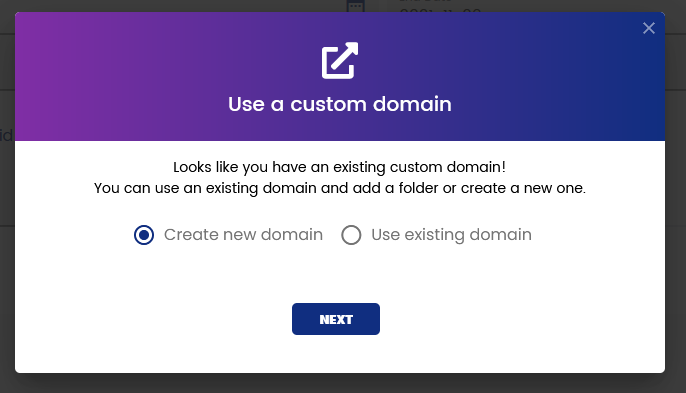
When you create a new domain, you'll see the following pop-up instructing you to complete the following instructions:
- Purchase your domain
- You will be able to do so from websites like GoDaddy or NameCheap.
- Create new DNS record from your domain's control panel
- Select CNAME Record as type and set Value as: custom.onlive.io
- Save
- Verify your domain below.
All you have to do for this is to key in new custom URL into the field that you see on the pop-up. It can take a while (anywhere between a few hours to 72 hours) for your domain to propagate so if it can't be verified immediately, come back and try again!
Once your domain has been verified, you will be given the option to use a folder on that domain for your website. That will be explained more in the next section. If you wish to skip this, simply click Done! and you're golden!
Your Own Custom Domain with Folders
Once you have successfully created a custom domain, you will be given the option to use a subfolder on that domain for your event. For example, instead of your URL being
myeventname.com
it would be something like:
myeventname.com/2019
This way, you'll be able to use the same domain for multiple events. This comes in especially handy if your event is a recurring affair. In order to do this, all you have to do is type in your folder name on the success page of your custom domain setup.
If you're creating a new event and would like to use an existing custom domain that you created previously, you will be prompted upon selecting Use A Custom Domain again.
You will be provided the option to create a new custom domain, or use an existing one. Simply select the option of your choice and continue with the process as per usual. If you select Use Existing, you'll be prompted at the end to add a folder as well.
And that's all there is to it! Having a professional website on your own custom domain is only a few steps away.