Navigating The Registration Website Control Panel
Find out what are the key actions you can perform from the Control Panel of our Registration Website solution

Mark
Last Update 4 years ago
The Registration Website Control Panel is where you can work on setting up everything related to your event registration website. Always check that you are in the correct Event Workspace before making any changes. You can do so by checking the event name on the banner of your Event Menu.
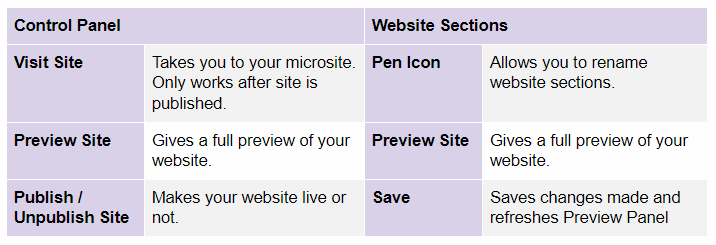
The following widgets are found in the Registration Website Control Panel:
- Page Title Bar
- General Settings
- Design Master Settings
- Default Sections - Banner, Content, Form
- New Sections - Venue, Programme, Contact, Organizers, Speakers, Sponsors
Page Title Bar
This widget, which can always be found near the top of the screen, tells you which page you are currently at. On the left of the page title, there is a left arrow button ‘<’ that will bring you back to the previous page you were at when clicked on.
Depending on which page within the General Settings you are at, the buttons within the Page Title Bar would be different:
General Settings
This is where you can change your website URL, toggle site exclusivity, expiry, and integration settings. You can also delete your website from here.
Design Master Settings
From here, you can set up your website’s theme colours either by picking colours manually, or by generating a palette with our in-built colour wheel. You can also select the default fonts to be used on your website, or even upload your own CSS file!
Default Sections
No event registration website is complete without an attractive hero image, event information, and registration form. Therefore, we've added these three sections for you by default. Simply click into each section to add your personal touch to them. You can toggle the eye on the left of each section to show/hide them as well.
New Sections
Feel free to add any other new sections to your site as needed. You can toggle their visibility, rearrange them in any order you like, or even delete them by clicking the 'trashcan' icon that appears as you hover over each of them.