Designing A Website
Find out how to set up theme colours and apply them across your event registration website
Mark
Last Update 2 年前
Here at Onlive, we try to make it quick and simple for you to craft a good-looking website even if you are no Michelangelo. For that, we’ve created a way for you to set up a master control of your website design settings!
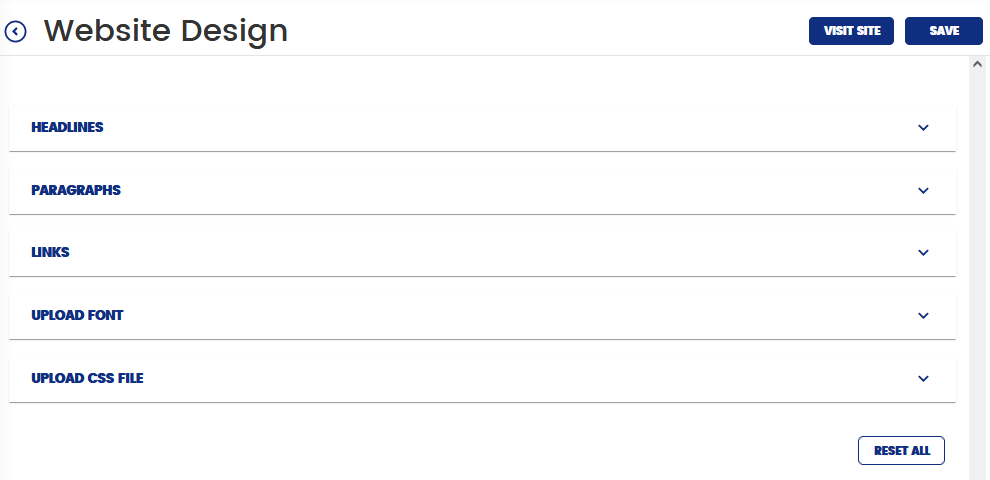
To set up the Design Master for your event website, select the event in question from Home. At the Solutions Overview page, click on ‘Registration Website’ followed by the ‘Design Master’ widget under Website Settings.

Headlines
Every website section comes with a headline. From here, you can quickly standardize the style of all your section headlines by choosing its font, font style, size, and alignment.
Paragraphs
You can standardize the style of all the paragraph texts in your website as well.
Links
Make all the hyperlinks in your website stand out from the normal text by styling them here. There are three states of links for you to style:
- Unvisited link
- Visited link
- Hovered link
Resetting Master Design
If you are unhappy with your selections, you can reset them anytime by clicking the ‘Reset’ button nested in each widget. You can even reset your entire Master Design by clicking the ‘Reset All’ button at the bottom right of the screen.
Remember to click ‘Save’ once you are happy with your customizations. Now, how does this Design Master work? Read on to find out!
Look & Feel
Every website section that you add should come with the following widgets in their respective pages:
- Manage > (Programme, Venue, Form, Organizers, Speakers, Sponsors)
- Headline
- Look & Feel
- Respective section settings
Under ‘Look & Feel’, you will be able to set the background colour and the text (heading and paragraph) colour of that particular section.
Background Colour
To set a background colour for a particular section, select the section’s widget listed under Website Sections in the Registration Website page. Click on ‘Look & Feel’ to expand it. Click on the 'Select Background Colour' field to open up a colour picker. You should find that the swatches of your Theme Colours have been added to the bottom, along with our standard Dark and Light colours which will be used for all the text in your website.
You can choose to apply any of the swatches as your section background colour, or pick a totally new colour. Remember, the swatches exist so that you can effortlessly standardize the way your website looks, but they are just a guide.
Text Colour
This refers to the colour of your Headline and Paragraph text. As of now, the Design Master only allows you to select either a Dark or Light text colour to ensure maximum readability which cannot go too wrong. Toggle the switch labelled ‘Text Colour’ to change between black text or white text within a section. If you have selected a dark-coloured background, use Light text and vice versa.
Form Design (Form & Contact Sections Only)
You can style how your form looks like by selecting the colour of your form, it text, and the active field.
Form Button (Form & Contact Sections Only)
You can also customize the Call to Action button on your form.
Advanced Design Options
If you would like to overwrite any of your text styles, simply locate the ‘Advanced Design Options’ button and do your customizations there.
Don’t forget to save your work!

