Navigating the Streaming Studio
A guide on how to use the Streaming Studio in the v4 Virtual Platform

Mark
Last Update 4 jaar geleden
Within your Event Workspace Solutions Overview, you will see the Streaming Studio.
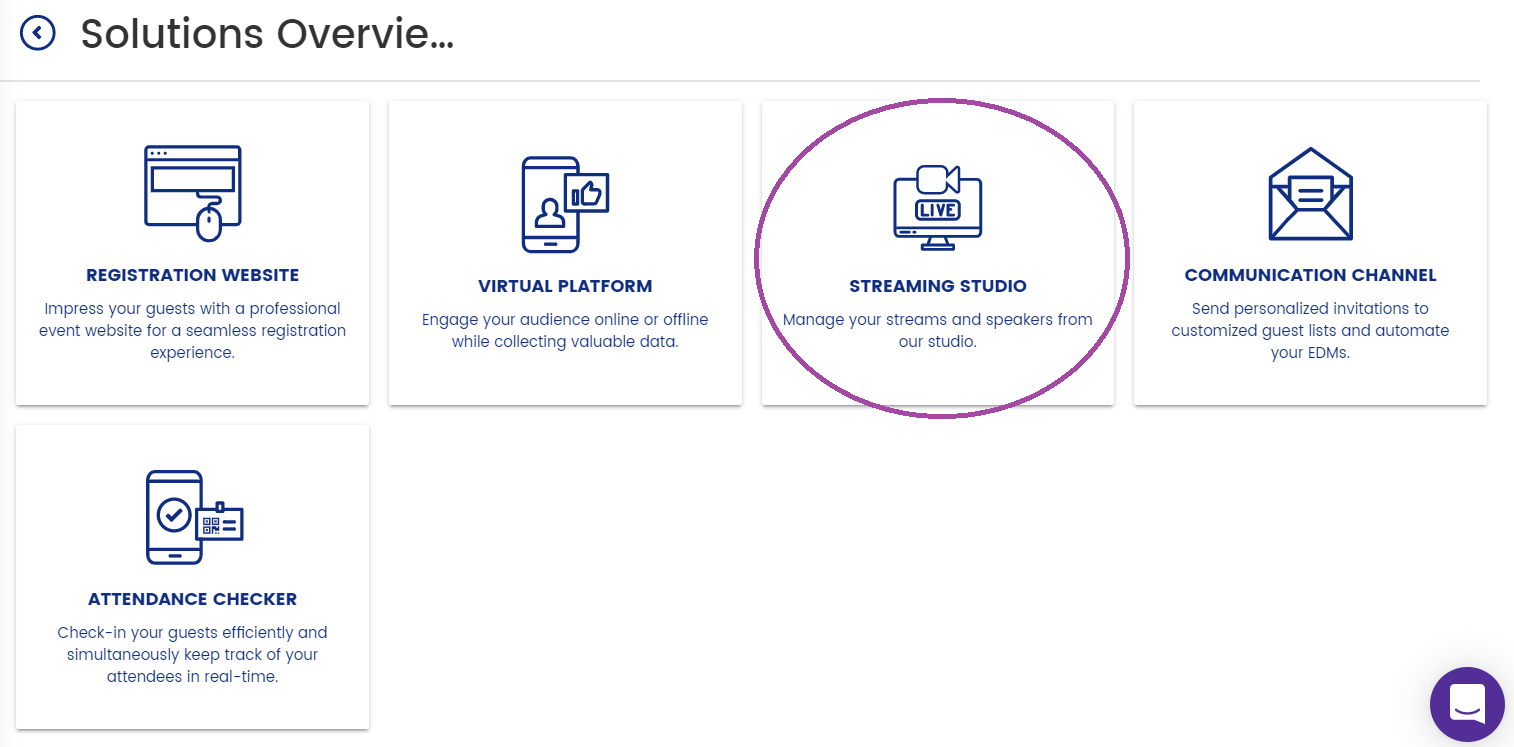
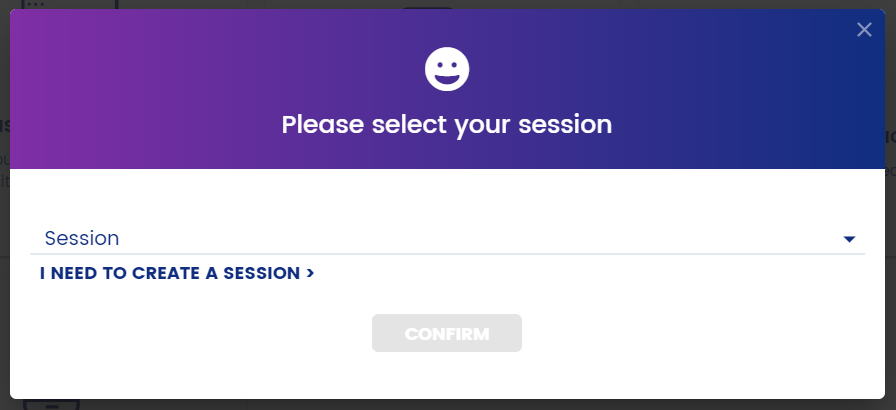
Click on this icon and you will be asked to select your session. Here you will see either sample sessions (if you have not yet created one) or your own sessions (if you have set these up). If you have not yet set up your own sessions, you will see there is an option to do this now.
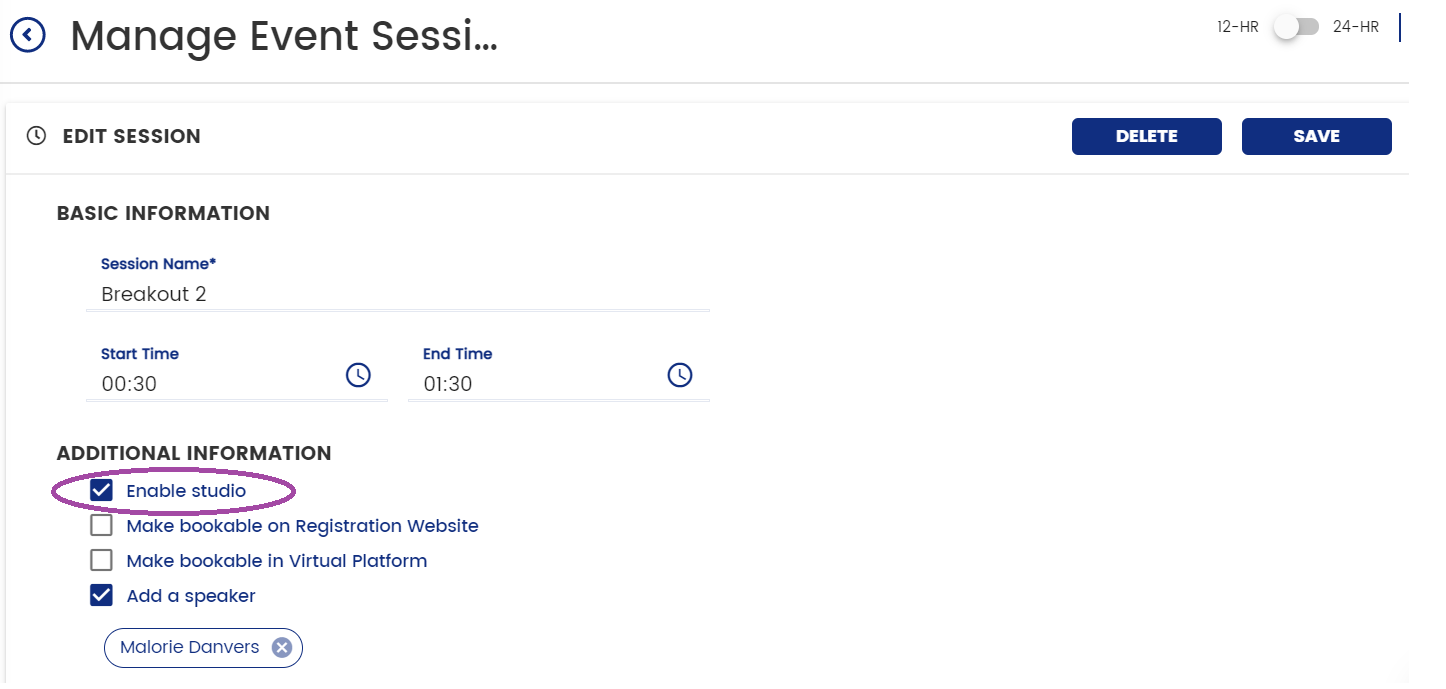
Selecting a session: This will take you through to the manage session page where you can edit the basic session information such as session name and description. Most importantly (for your studio/live streaming) is to enable the studio (circled below) if you want to link a streaming room to this session.
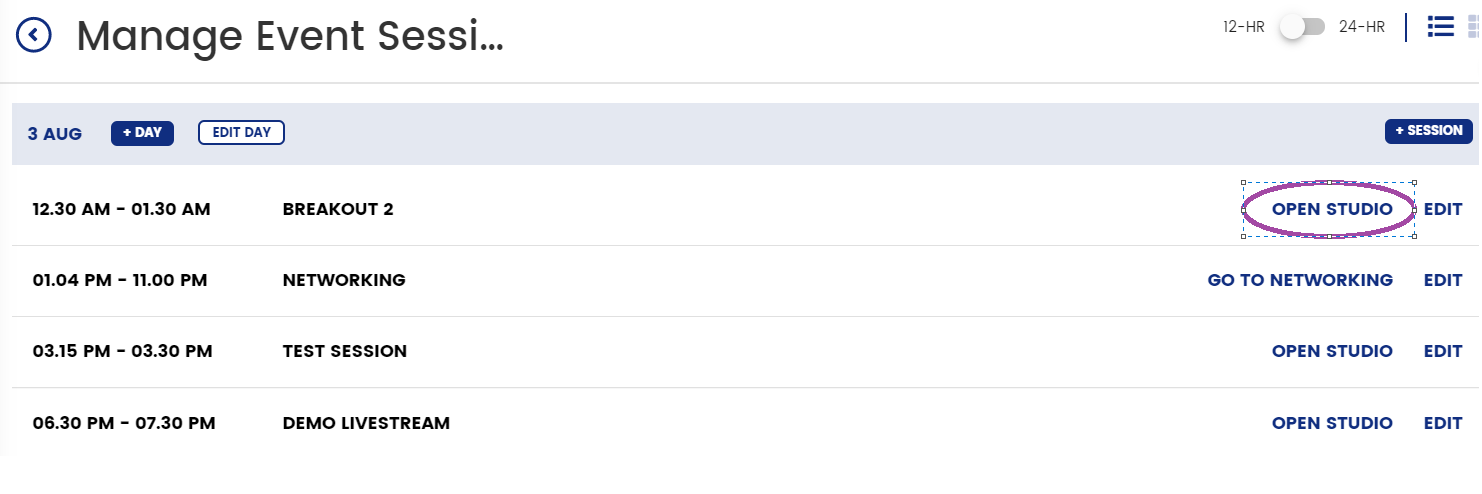
Once you are happy with your session information you can select back (the top left hand corner arrow, above) and this will take you through to your main session page:
To enter the studio, you can now select OPEN STUDIO on the session you would like to go into the studio for:
You will be prompted to enter the Studio label, test your camera, mic and audio and then you can ENTER STUDIO.
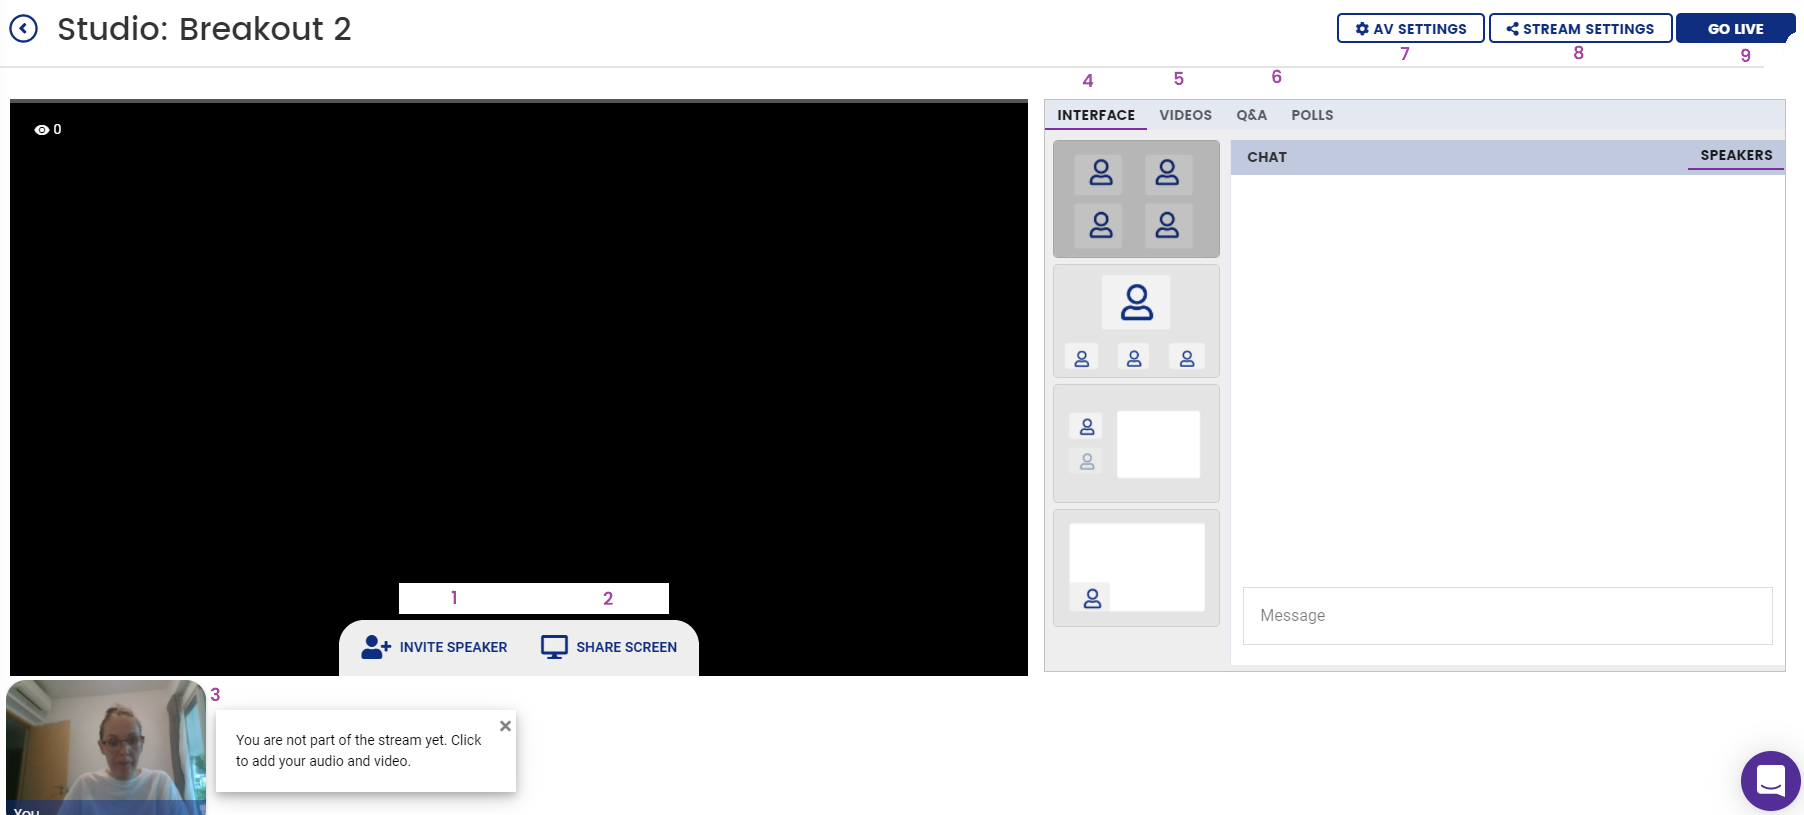
In the studio you will see a number of features for you to use as needed:
- Invite Speaker - click on this to bring up your speaker link which you can copy and distribute to your speakers, they simply follow the link and will be brought into the studio for this room
- Share Screen - click on this to share your screen
- Speakers - here you will see all the speakers who are in the studio (they are not part of the steam until you click "add". Simply hover over their image and add them (once added to the steam you can hover over this image and see the option to mute or remove them). Do note, this image view is static (until they are added to the stream).
- Interface - change the view of your stream
- Videos - here you can add pre-recorded videos to your stream (or once the stream is over, you can upload the recording from your session using this tab)
- Q&A/Polls - set up your Q&A/Polls/Survey settings as needed
- AV Settings - use this tab to ensure your AV settings are correct
- Stream Settings - here you can see different stream settings such as adding a secondary stream or your RTMP
- Go Live - arguably the most important button which allows you to GO LIVE! Remember to End Stream once you have finished!
Note: During share screen, video and audio is not supported due to browser limitations. You can also have a **maximum of 19 speakers including the host** in the studio at the same time. However, please be aware that only 8 people can be on screen and total 19 with audio. When audio is detected from the audio only clients, they will replace the idle video clients.
Port 443 must be open on the client network. We recommend a minimum dedicated 1000kb/s down per downloaded stream, as well as 1000kb/s up per uploaded stream to maintain a stable video connection.