Setup your Event & Streaming App

Mark
Last Update há 4 anos
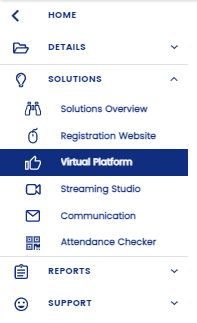
Within your event dashboard, navigate to "Solutions" down the left hand side and here you can see "Virtual Platform" select this to open up the Virtual Platform tab and to begin setting up your app!
In your virtual platform main page you will see "Setup" along the top menu, navigate there. Here there are three options you want to focus on, these are they key components for you to fill in to set up your App!
1. **Website Settings**: Here you will need to input the settings you would like for your app including the URL, App Title and (if required) you can also add your Google Analytics ID here.
2. **Advance Options**: This part is for Session Booking. You can choose to enable booking for sessions and it will override whatever settings you made in Tickets & Forms.

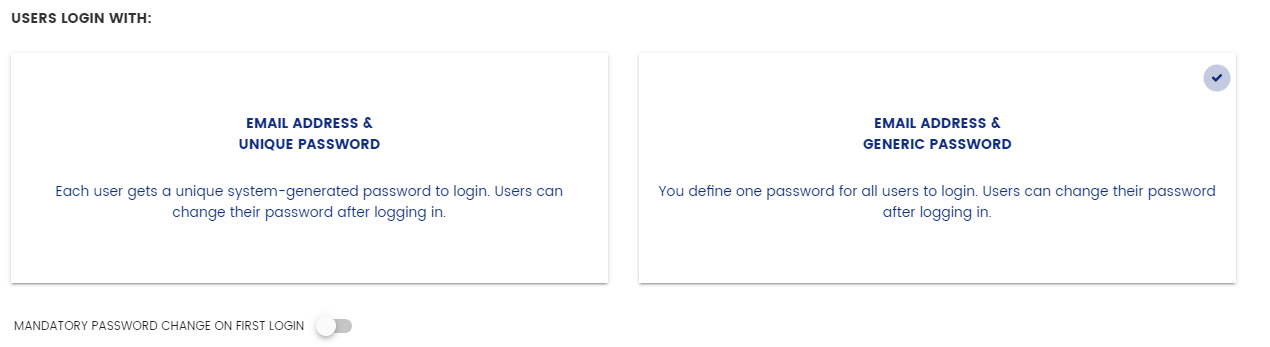
3. **Login Method**: This is the part where you can select how your guests login to your app. Select the method which suits your event best and if required, create your password.
4. **First Login Message**: This final step allows you to create the first login message you want your guests to see when they land on the app home page. Enter your content here and if you'd like guests to accept Ts&Cs on first login, toggle the "Additional Terms and Conditions" button at the bottom of the page. This will open up an extra segment where you can add in these Ts&Cs.
5. **Site Expiry**: This is where you set up if you want to archive the site once the event has already ended.

Remember to save your updates in the top right hand corner before you leave the page! Et Voila - your App is set up. Now to personalise...