Using The Attendance Checker
Find out how to check-in guests, register walk-in guests, and monitor live attendance reports from the Onlive check-in app

Mark
Last Update 4 years ago
Alright, so your event is now live and guests are starting to pour in. How can guests check themselves in? How can I register walk-in guests? How can I monitor my real-time attendance rate? Read on to find out!
Guest Check-In
Depending on which check-in method you have selected when creating your Attendance Checker, the home screen of your check-in app and the way in which your guests will use your check-in device will differ.
Search By
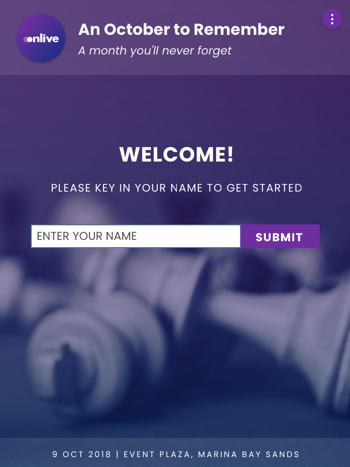
Depending on the searchable fields that you have defined previously, your guests will have to key in those details to check in.
QR Code
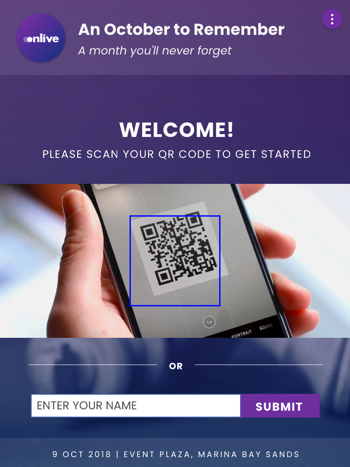
If you have opted for the QR code check-in method, your guests will have to produce and scan their unique QR codes using the front camera of your device. In case they do not have their codes with them, they can also use the Search By function if you have set it up as a fallback plan.
Top Tip for seamless check-ins: Make sure your check in devices are running on data (not venue wifi) AND always ensure you have allowed camera permissions in the Onlive app.
Walk-In Registration

Registering Walk-In Guests
You are able to register guests who did not sign up for the event on the spot with our app as well! To do so, tap the 'Options' button indicated by the '...' icon at the top right corner of your screen within the app and select 'Register Guest'. The walk-in registration form that you have customized beforehand will then load.
Check-In & Badging For Walk-in Registrants
Once your guest submits the form, they are automatically checked-in and added to your Attendee List under a new Ticket Class.
If badge printing is enabled, badges will be printed for them as well! Unique QR codes will also be printed on the badges for walk-in registrants if 'QR Code' was defined as a printable field during setup.
Subsequent Session Check-Ins For Walk-In Registrants
Subsequently, if you have QR code check-ins implemented for sessions, the walk-in registrants will only be able to check themselves in for those sessions using the Search By function unless badges with QR codes was printed for them. This applies to session check-in using Facial Recognition too.
To return to the check-in screen, simply tap the 'Options' button again, followed by 'Home Screen'.
Attendance Reports
To access your attendance reports, tap the 'Options' button indicated by the '...' icon at the top right corner of your screen within the app and select 'Attendance Reports'. You will have to sign in with a password if you have previously restricted report access when setting up the permissions for your Attendance Checker.
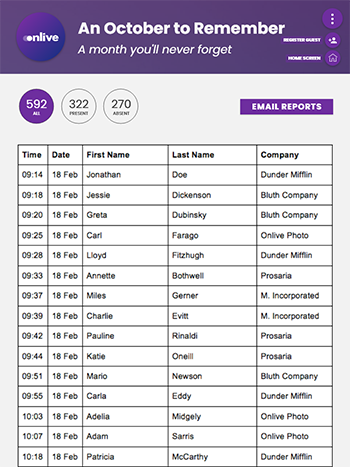
Once you are in this view, you will be able to monitor the number of total, present, and absent attendees at a glance! To return to the check-in screen, simply tap the 'Options' button again, followed by 'Home Screen'.
Check-Out Guests
In the event where you would like to check-out a checked-in guest, you will also be able to do it from here by clicking the 'Checkout' button next to their names. This function will come in handy if you are doing a test before your event, or if you've accidentally checked-in a wrong guest.
We would recommend you to get an extra device in addition to the number of devices you would like to use as check-in kiosks to use for registering walk-in guests and checking your reports! 😉